Currently Empty: $0.00


0 Comments
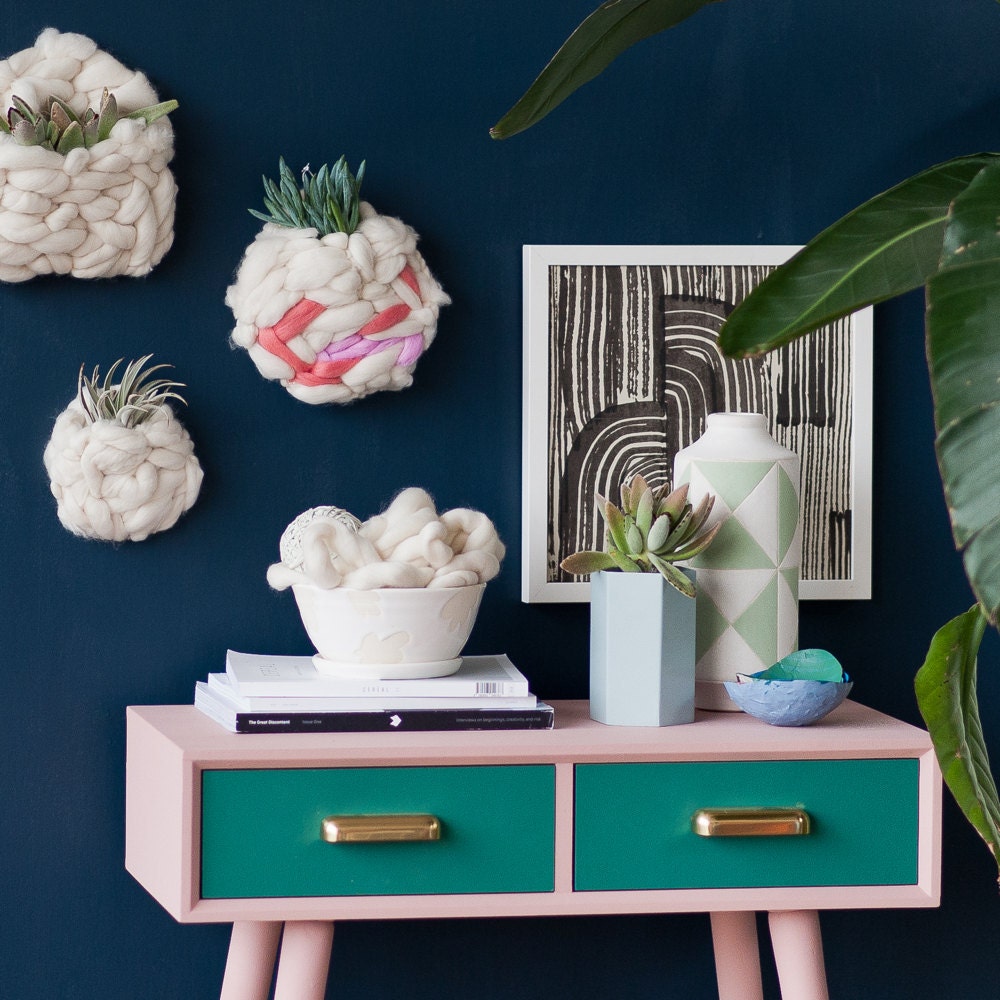
DIY Woven Wall Pockets to Spruce Up Your Space
As we are getting ready to freshen up our living spaces for the new year, there are those who jump in headfirst with the Marie Kondo bible in hand, and there are others who take their time (and will pack away the Christmas decorations whenever they see fit, thank you very much) You can get your dose of hands-on DIY action with these woven wall pockets from Brittni Mehlhoff of Paper & Stitch if you have some interior decorating aspirations for 2021, too – and a cheerful, functional addition to your gallery wall or entryway is the perfect small update to start off the year. Best of all, there is no previous weaving experience required, and plenty of room for creativity is available. Let your creativity flow as you weave a custom pattern to create your wall pocket, then add a small plant or some faux flowers inside for a light and airy appearance. Ready to get started? Follow along as Brittni demonstrates.
At a glance:
Time: 1-4 hours
Difficulty: Intermediate
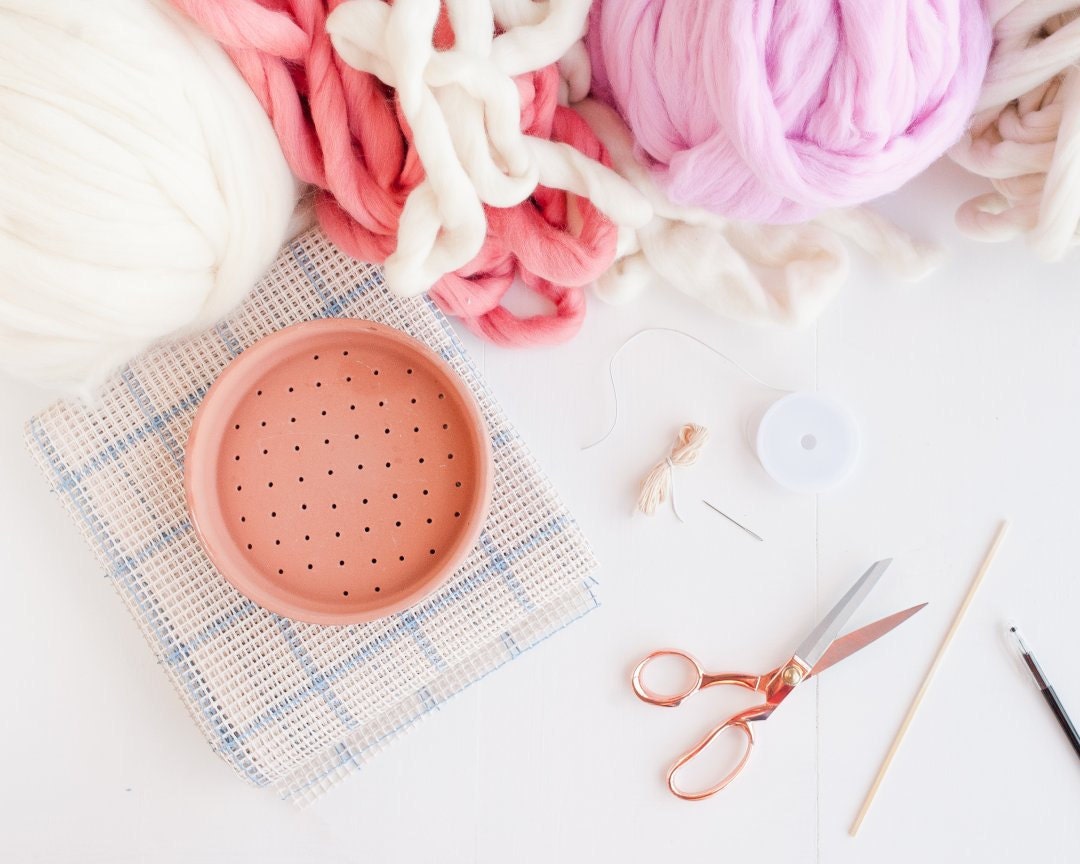
You will need:
- Latch hooking rug canvas
- Circular plate or bowl for tracing (20 to 30cm in diameter)
- Pen or marker
- Scissors
- Roving or super chunky yarn in your colour (or colours) of choice (225g of yarn will make 3 to 5 pockets measuring 20 to 30cm in diameter)
- Poking tool (this could be an awl, a pick, a small wooden dowel, or similar)
- Embroidery floss in a colour similar to that of the yarn (up to 60cm per wall pocket)
- Yarn needle
- Leather cord (15cm per pocket)
Step 1: Trace shapes onto the rug canvas
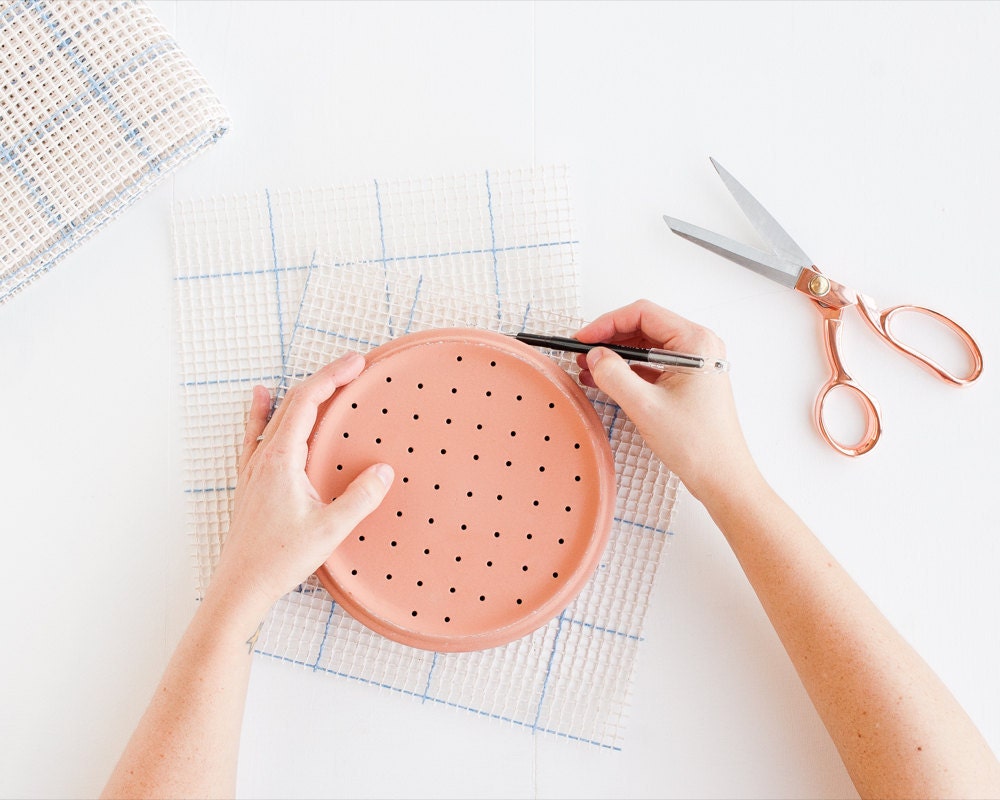
Using rug canvas, trace two identical circles – one for the front of the wall pocket and one for the back – on two pieces. Using a marker, you can trace the outer edge of a plate or bowl. If you would like a different shape, you may also use a rectangle, square, or oval. Make sure your pocket is slightly larger than desired.
Step 2: Snip, snip
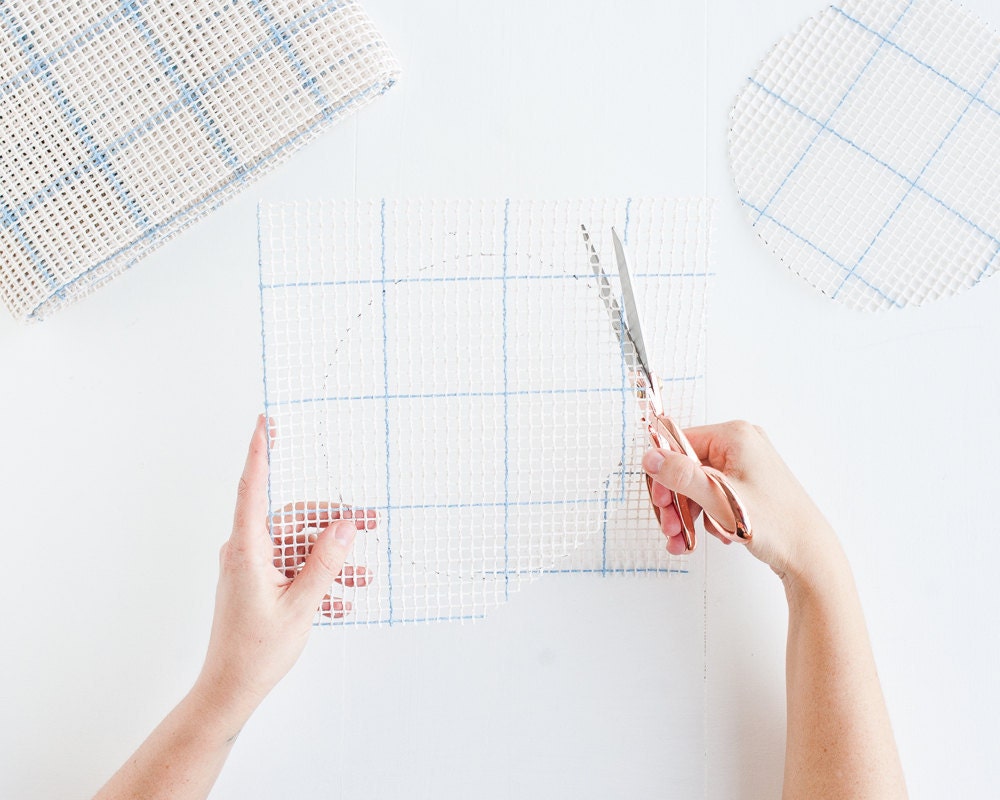
With scissors, cut out the two shapes.
Step 3: Trim the top of one of the shapes

The next step is to cut out a small, curved section from the top of one of the two shapes. This will serve as the opening for the pocket’s front part.
Step 4: Weave the front piece of canvas
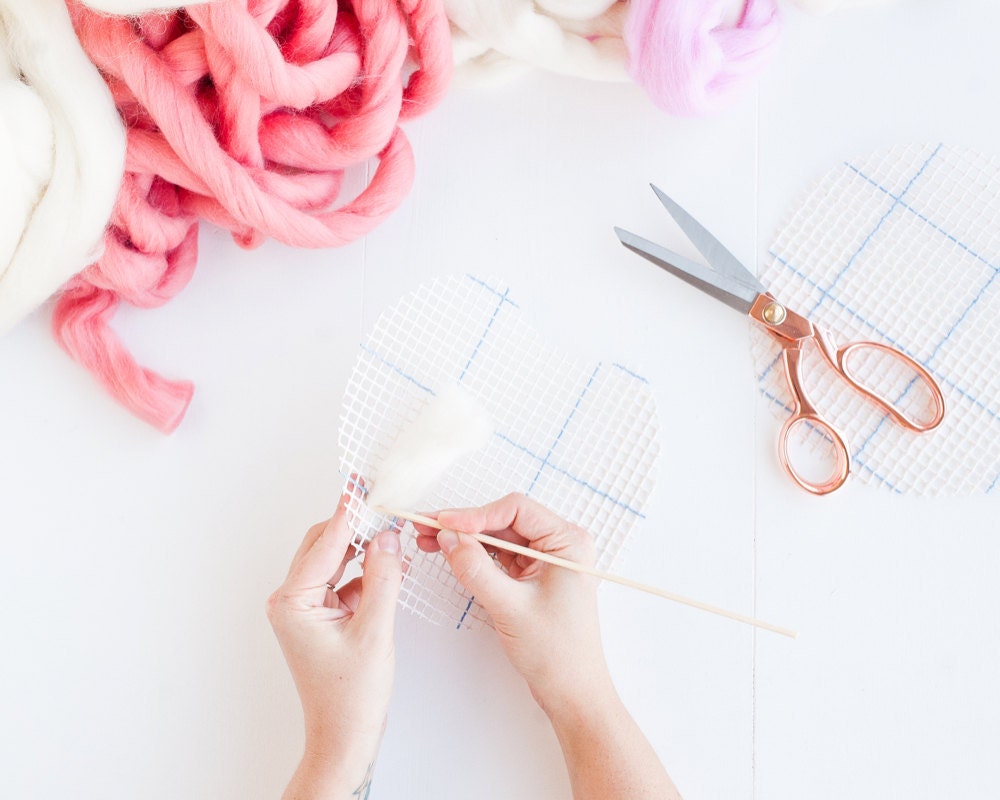
As you weave the yarn in and out of the grid holes on the rug canvas, begin at random. You can skip some grid holes to create longer sections of yarn and then return later to fill in any empty areas. In order to ensure that each piece is securely secured, use the poking tool to push the yarn through at each end. Repeat this process until you have achieved a pattern that you are comfortable with. Alternatively, you can use multiple yarn colours and thicknesses to achieve a more unique appearance.
Step 5: Repeat the process on the reverse side of the canvas
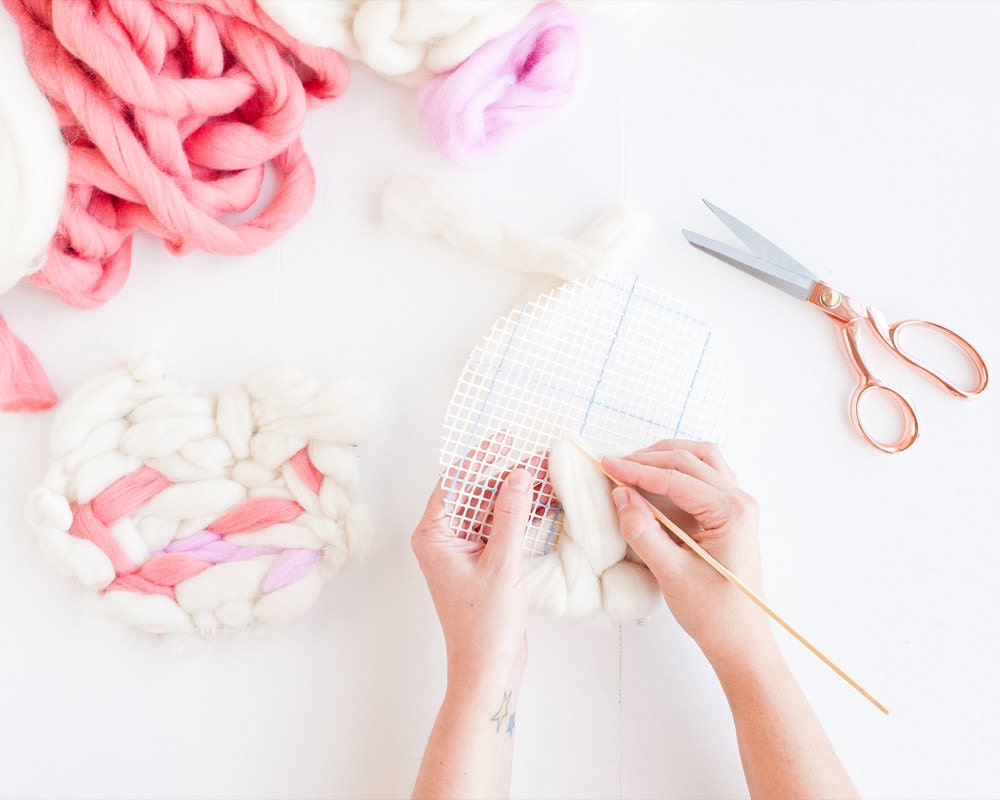
Cover the entire back piece of rug canvas with yarn in a pattern of your choice, following Step 4.
Step 6: Join the front and back pieces together
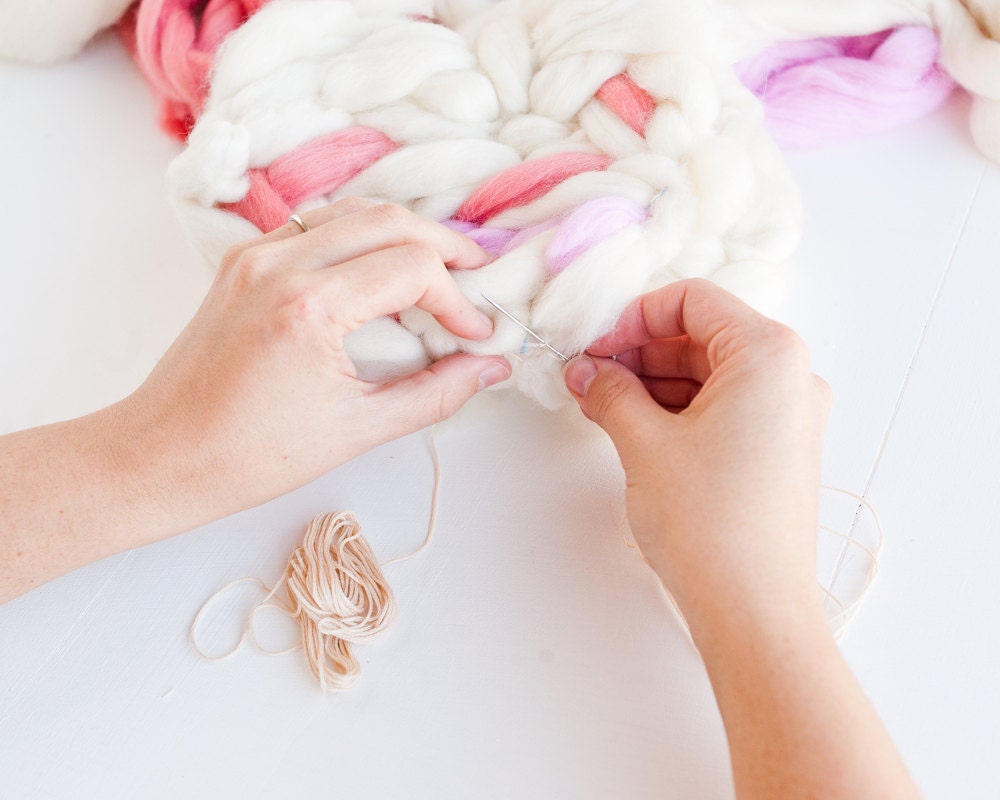
Create a pocket by sewing together the front and back pieces of rug canvas using embroidery floss and a large-eye needle. To secure the two pieces at one point, tie a double knot first, then continue sewing along the edges in both directions. It is important to leave the top of the pocket open. When you are finished, double knot all ends and trim any excess floss.
Step 7: Make a loop for hanging
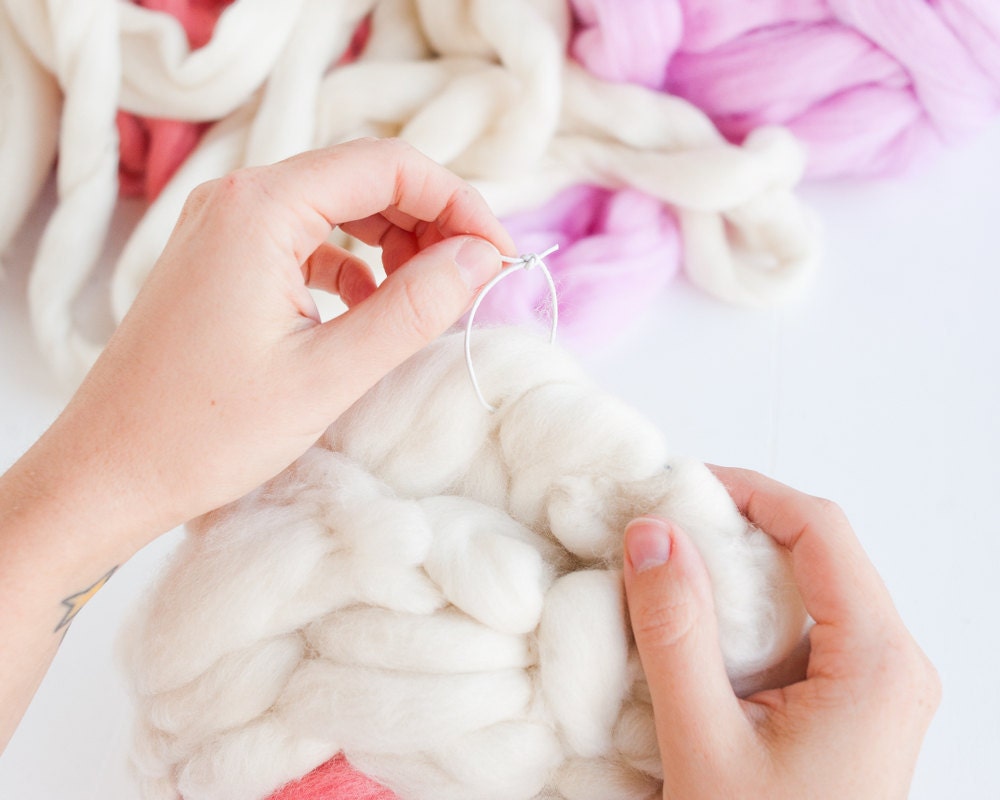
Tie the cord ends together to form a tight, sturdy loop; this is how you will hang the finished wall pocket. Cut a 15cm strip of leather cord and insert it into several grid holes near the top of your rug canvas back.

Your pocket can be hung from a nail in the location of your choosing with faux flowers, plants, craft supplies, or any other odds and ends you wish to display. It is recommended that you use air plants as pockets planters, since they are lightweight and can be easily removed for watering.